Yealink: Manual Provisioning
Yealink: Manual Provisioning
Scope
Intended Audience: Clients and T1 or higher
The following article outlines how to remotely provision a Yealink deskphone. This has been tested with firmware 35.73.0.40. For TLS Provisioning check HTTP Provisioning over TLS
Requirements
- Admin login to Yealink Phone
- Device must be added as a SIP Phone in the Manager Portal. Add a SIP Phone
- Global Username and Password provided by Support.
Find Yealink Phone IP Address
- From the Yealink phone select Menu.
- Select Status.
- Select Network.
- Select IPv4 Status.
- Take note of the IP address for the next steps.
Configure Yealink Phone
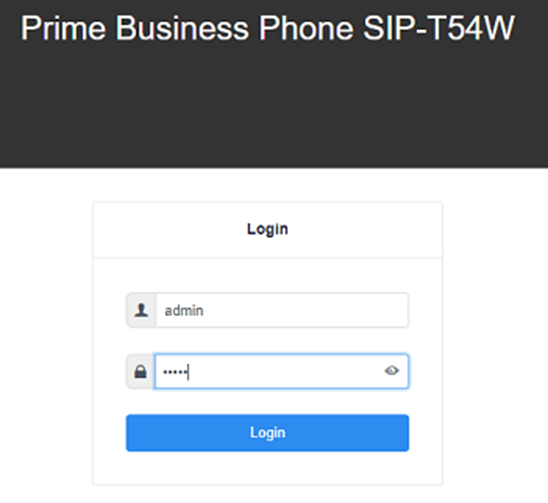
- Log in. The default credentials are admin/admin.

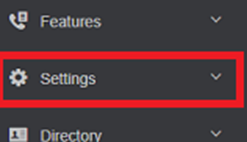
- Click on Settings.

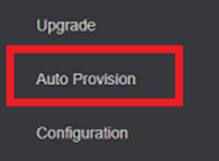
- At the left menu click on Auto Provision.

- In Server URL enter the provisioning URL for your account, followed by the Global One Time Password and Username or the per device password.

- Once the page refreshes click on Autoprovision Now. Your phone will download the config and reboot at least once. It may reboot more if it needs to update the firmware.

- Using any web browser navigate to the IP address from the above step.
Server URL: http://ndp.ucaasnetwork.com/cfg
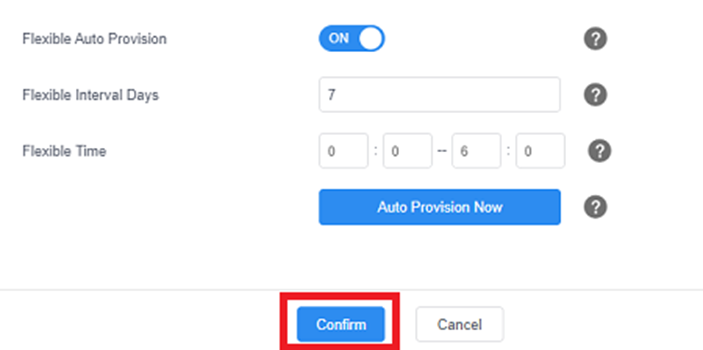
- Once that is done, Click confirm at the bottom of the screen.

Configure Yealink Phone (Web GUI of T54W)
- Using any web browser navigate to the IP address from the above step (They are basically the same settings from T48, with just a different look in it)
- Log in. The default credentials are admin/admin
- Click on Settings
- At the left menu click on Auto Provision
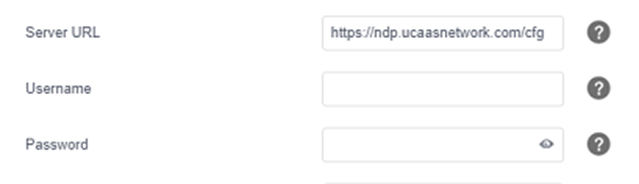
- In Server URL enter the provisioning URL for your account, followed by the Global One Time Password and Username or the per device password
Server URL: https://ndp.ucaasnetwork.com/cfg
Note: Please use http://ndp.ucaasnetwork.com/cfg as a fallback if https does not work, or if you are on a older firmware version.
- Once that is done, Click confirm at the bottom of the screen.
- Once the page refreshes click on Autoprovision Now. Your phone will download the config and reboot at least once. It may reboot more if it needs to update the firmware

Troubleshooting
If your phone does not provision with the DNS name try using http://129.213.10.212/cfg
Firmware versions 80 and lower only allow a limited amount of trusted certificates for provisioning, and the phone may block provisioning if this is the case. The below steps will allow disabling of trusted certificates.
- Log into the phone’s web GUI.
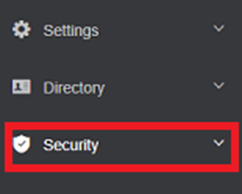
- Click on the Security tab.
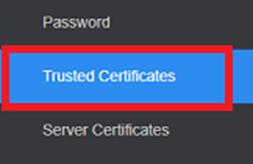
- Click on Trusted Certificates on the left.
- Toggle Only Accept Trusted Certificates to Off

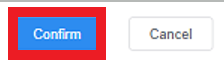
- Click Confirm.
- Reboot the phone and it should pull the configuration.
[manual provisioning](https://docs.servantvoice.cloud/articles/provisioning/yealink-manual-provisioning/contact-us##search%5Fquery=manual provisioning) yealink